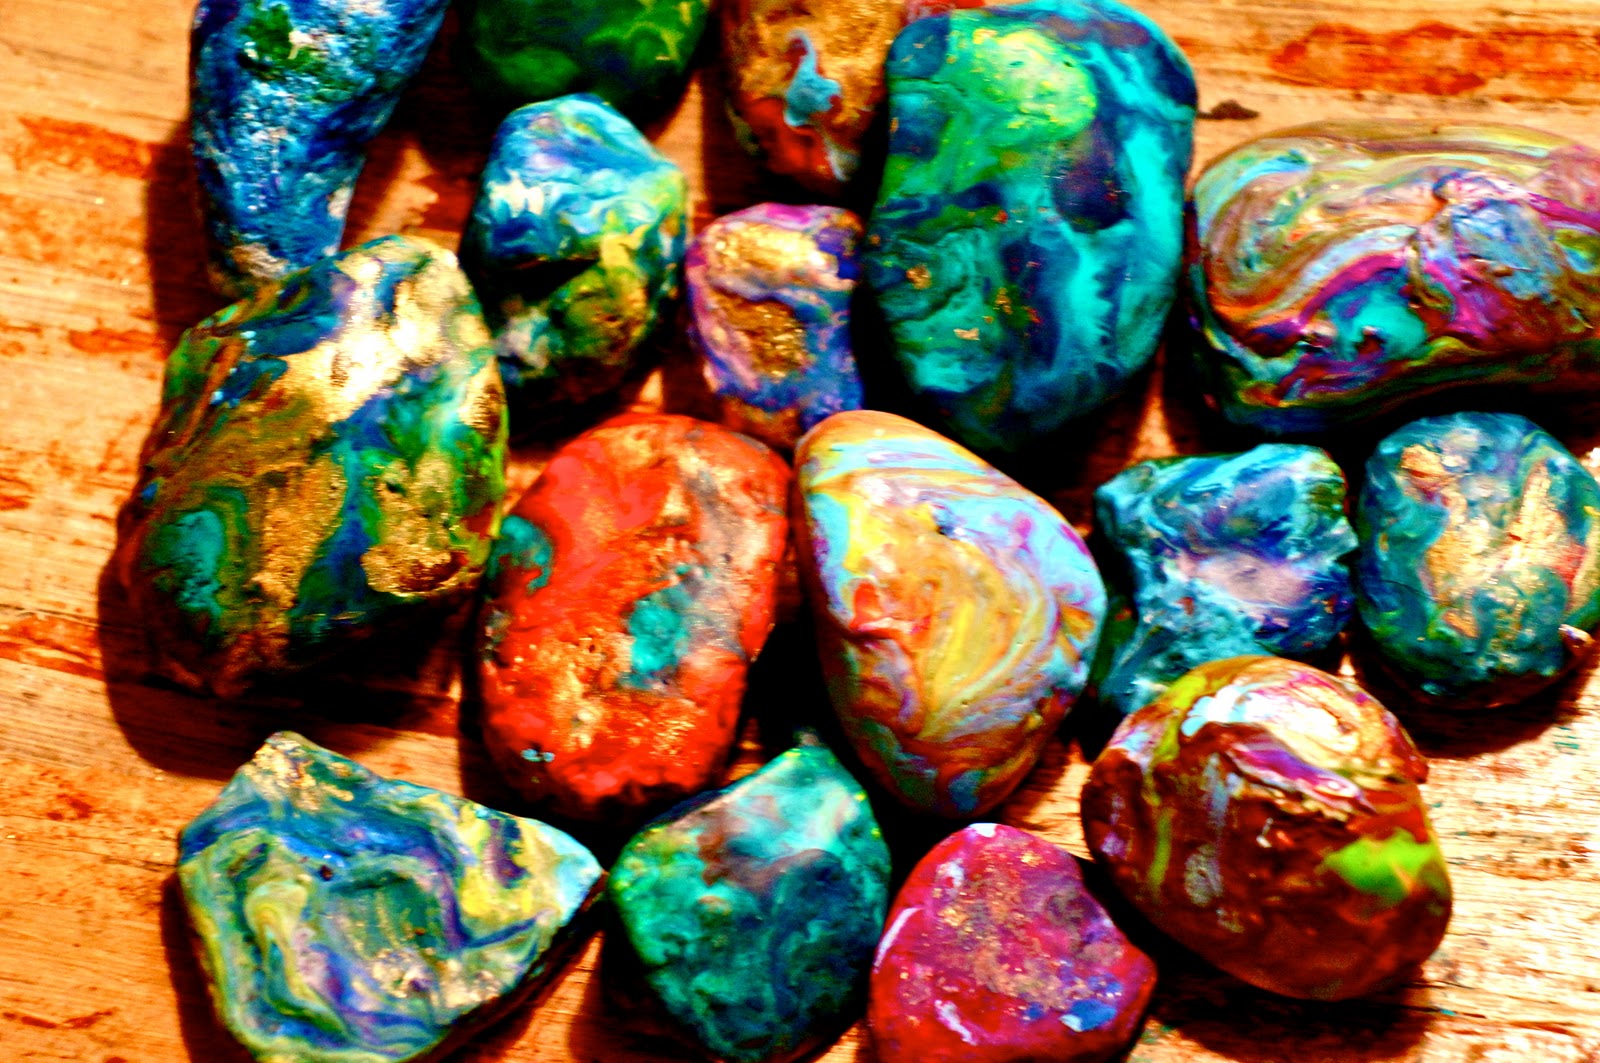
I love melted rocks. Melted rocks rock. I did this art activity with two 6 and 7 year old boys and I think I enjoyed it more than they did (probably because I wouldn’t let them touch the hot rocks…and you know how boys are…they only want to do what they aren’t allowed to do:) ). Something about the simplicity of the activity and watching the crayon melt and mix and swirl with the other colors is so relaxing.
You will need:
- smooth rocks- pick out some rocks from your garden (preferably smooth rocks with flattened tops) or you can buy a bag of river rocks from a craft supply store for fairly cheap.
- crayons- The Crayola brand work perfectly fine…I had some oil pastels I also tried using…a few of them worked, the more thicker and more expensive they were, the LESS they worked because they didn’t melt as easy and didn’t mix with the other crayons. ALTHOUGH, saying that, one gold oil pastel I had from Blicks art store turned out to be the best. So, try a few different types and experiment.
- an oven- or access to one.
- An oven mitts (those babies come out of the oven hot)
- Foil paper
- a large (and preferably old and well used) baking tray
Instructions:
- Pre-heat the oven to 350 degrees Farenheit
- Wash off and dry the rocks if you grabbed them from the garden
- Peel the paper off the crayons you want to use
- Put foil paper on the oven tray (to keep any melted crayons from getting on the tray)
- Place the rocks on the tray and put them in the oven for at least 15 minutes (the hotter they are the better)
- Take the rocks out using the oven mitt (if you are doing this with children make sure to warn them NOT to place their hands directly onto the rock because they will born themselves) and place them on paper plates or foil sheets
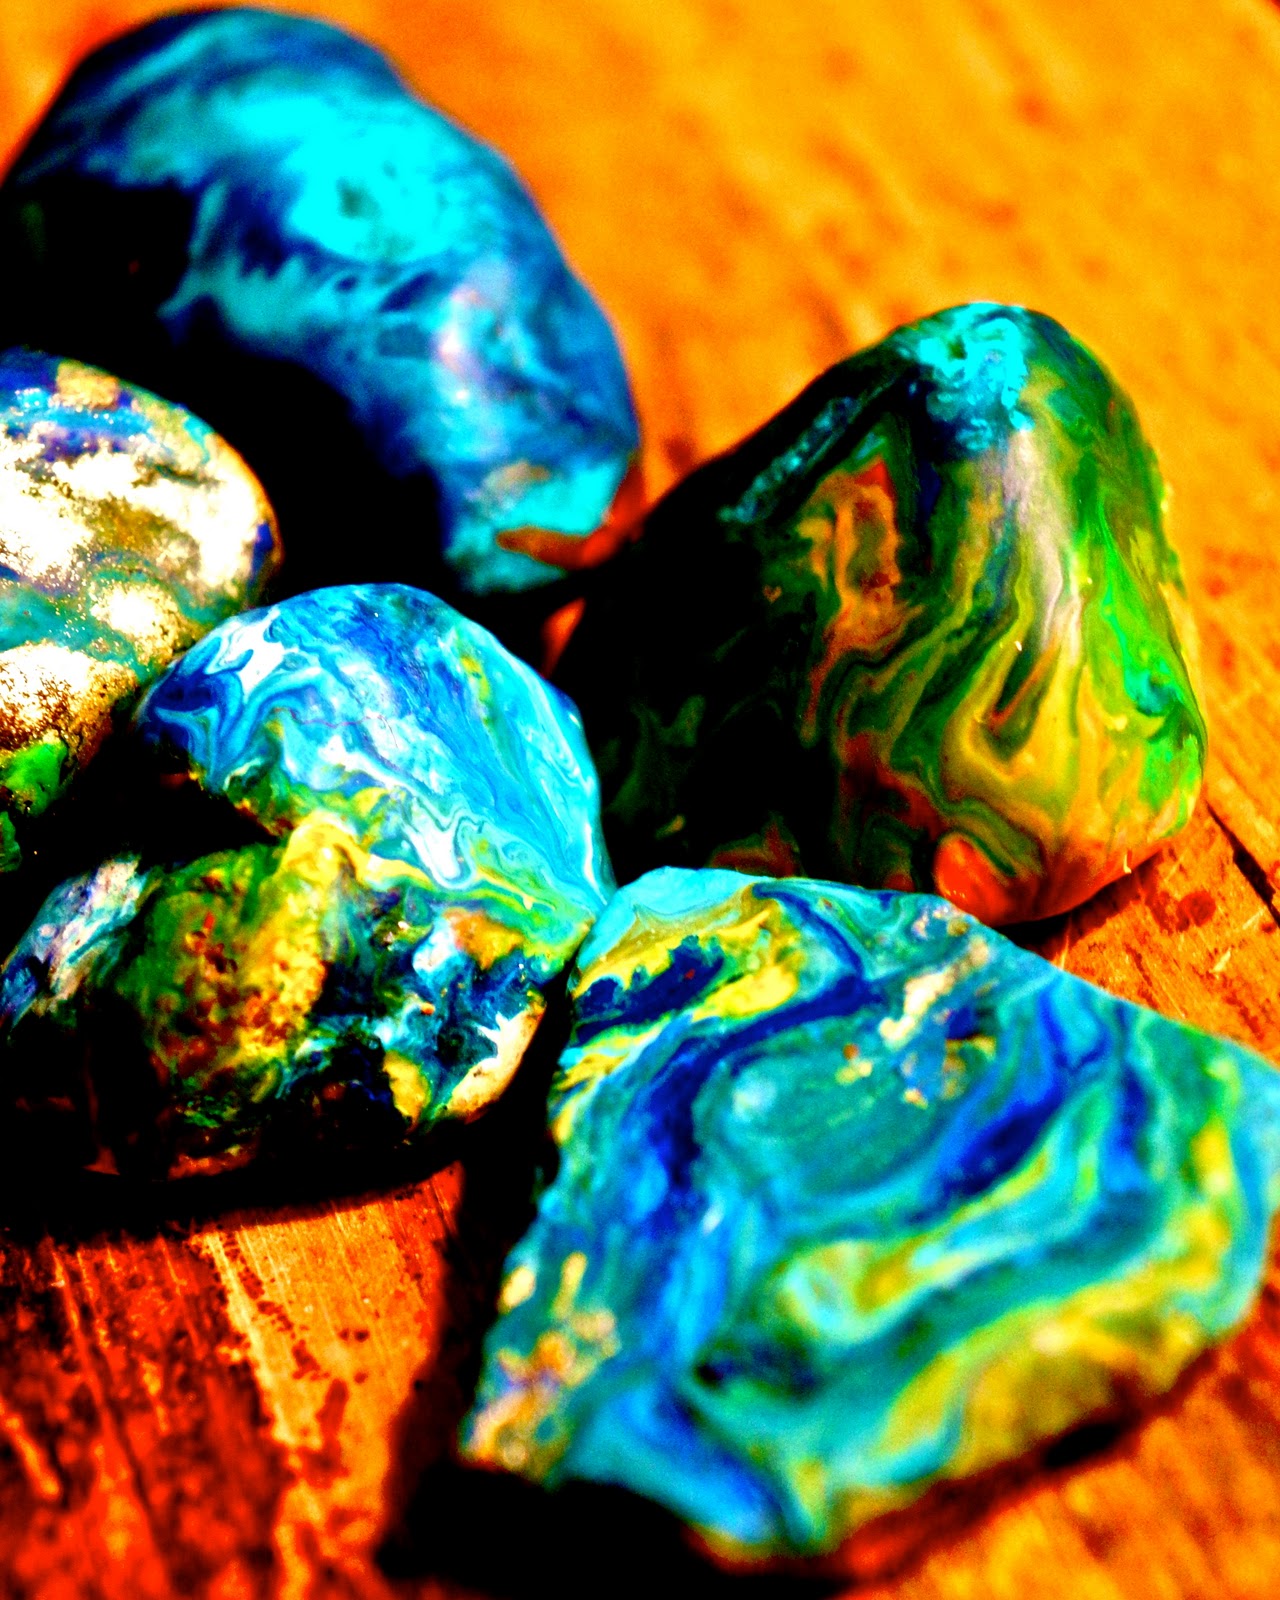
- Put the crayon onto the surface of the rock and push down firmly for a few moments. Use several different colors to get a colorful effect.
- Let them cool.

and WHALAAA! Glorious- beautimus rocks!
